3. Moving and Managing Zones
In the previous guide, we learned how to add and connect nodes on the topology.
This time, we’ll explore how to manage components at the Security Zone level, switch between views, and get a full system overview.
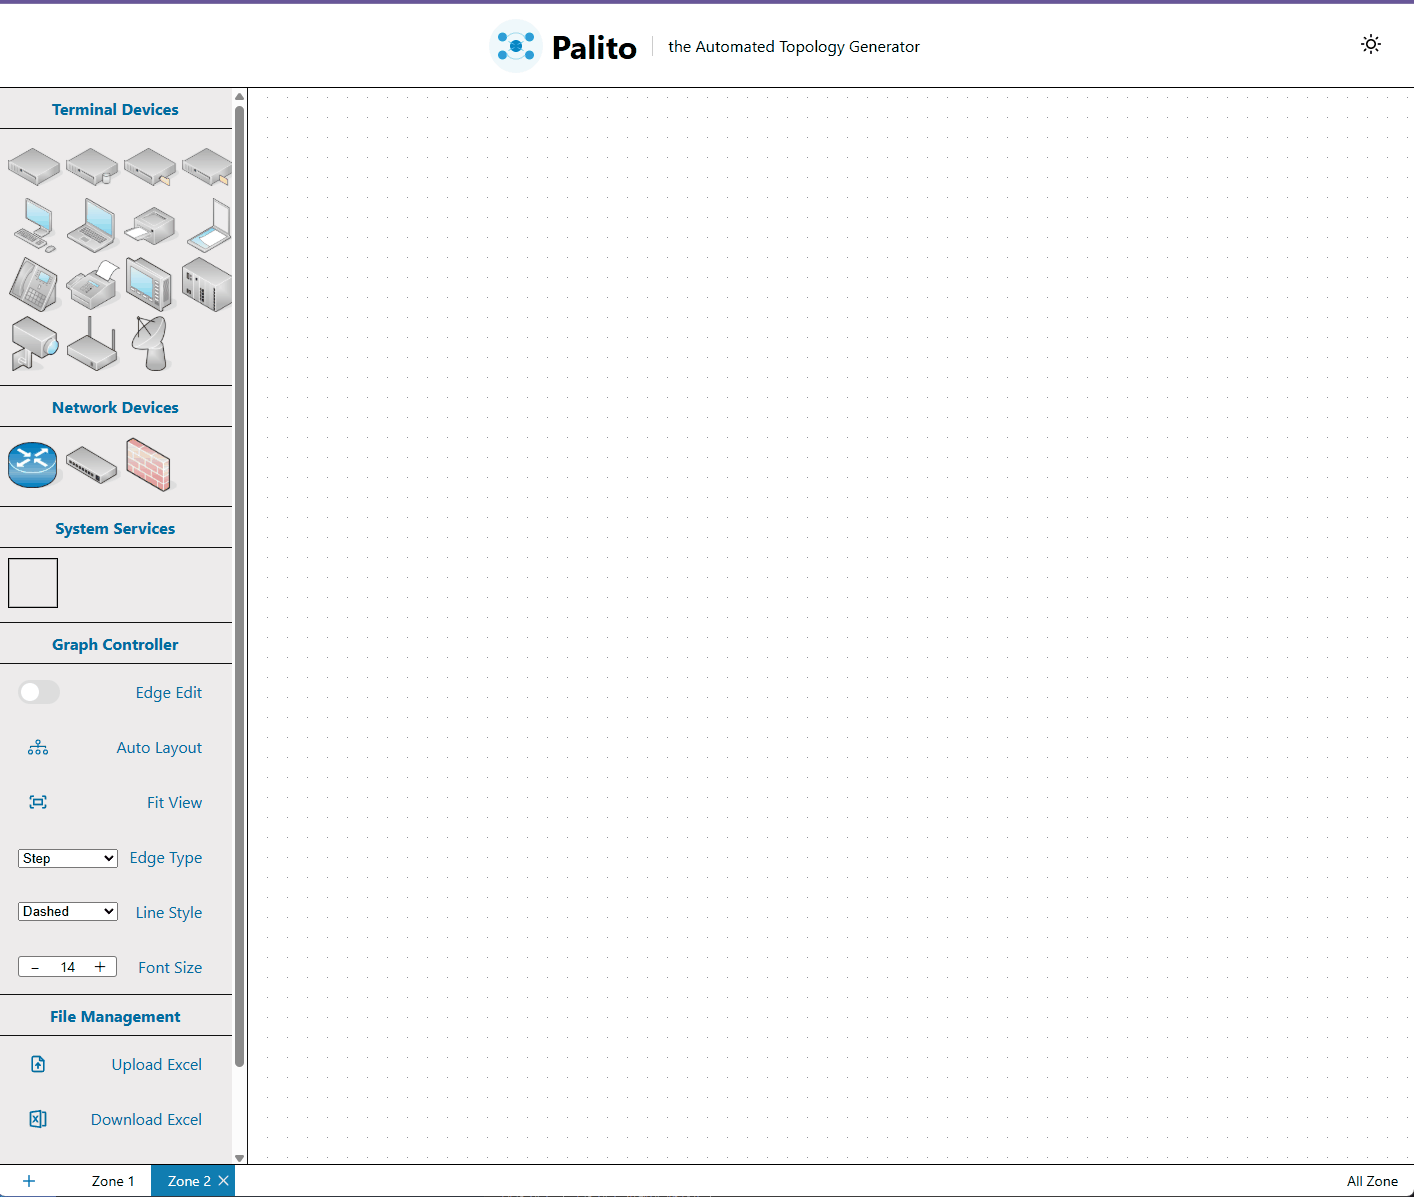
1. Adding a Zone
Click the + icon in the Footer at the bottom of the screen to add a new Security Zone.
2. Renaming a Zone
Double-click the name of a Security Zone in the Footer to edit its name.
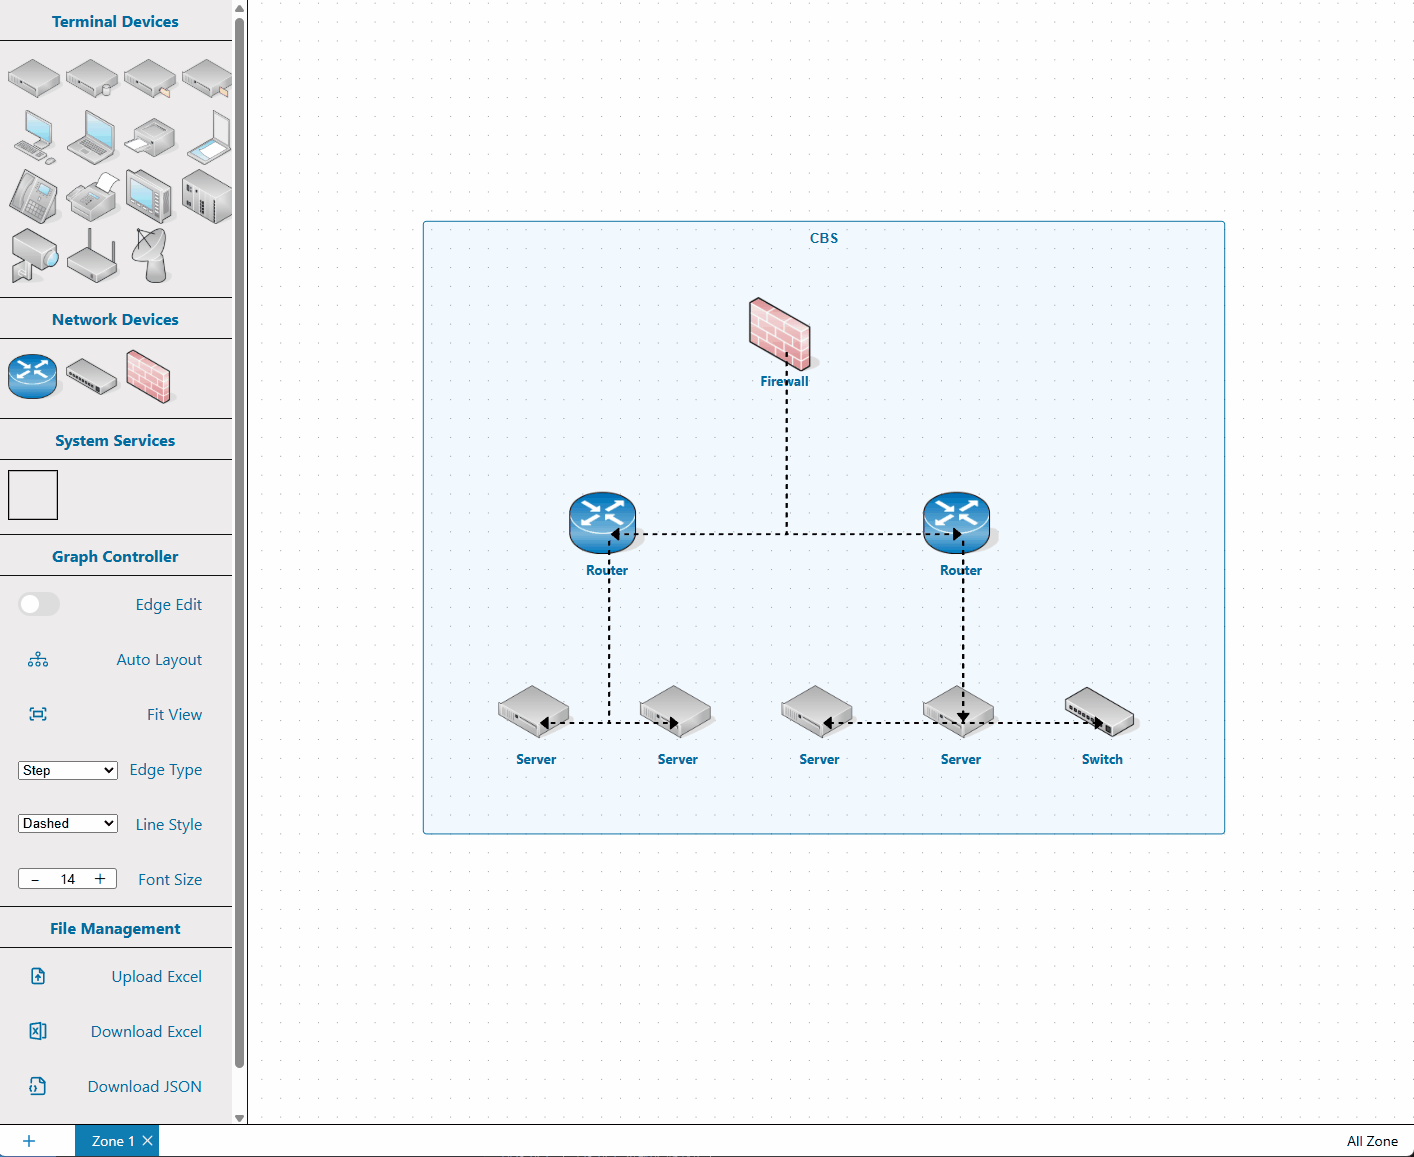
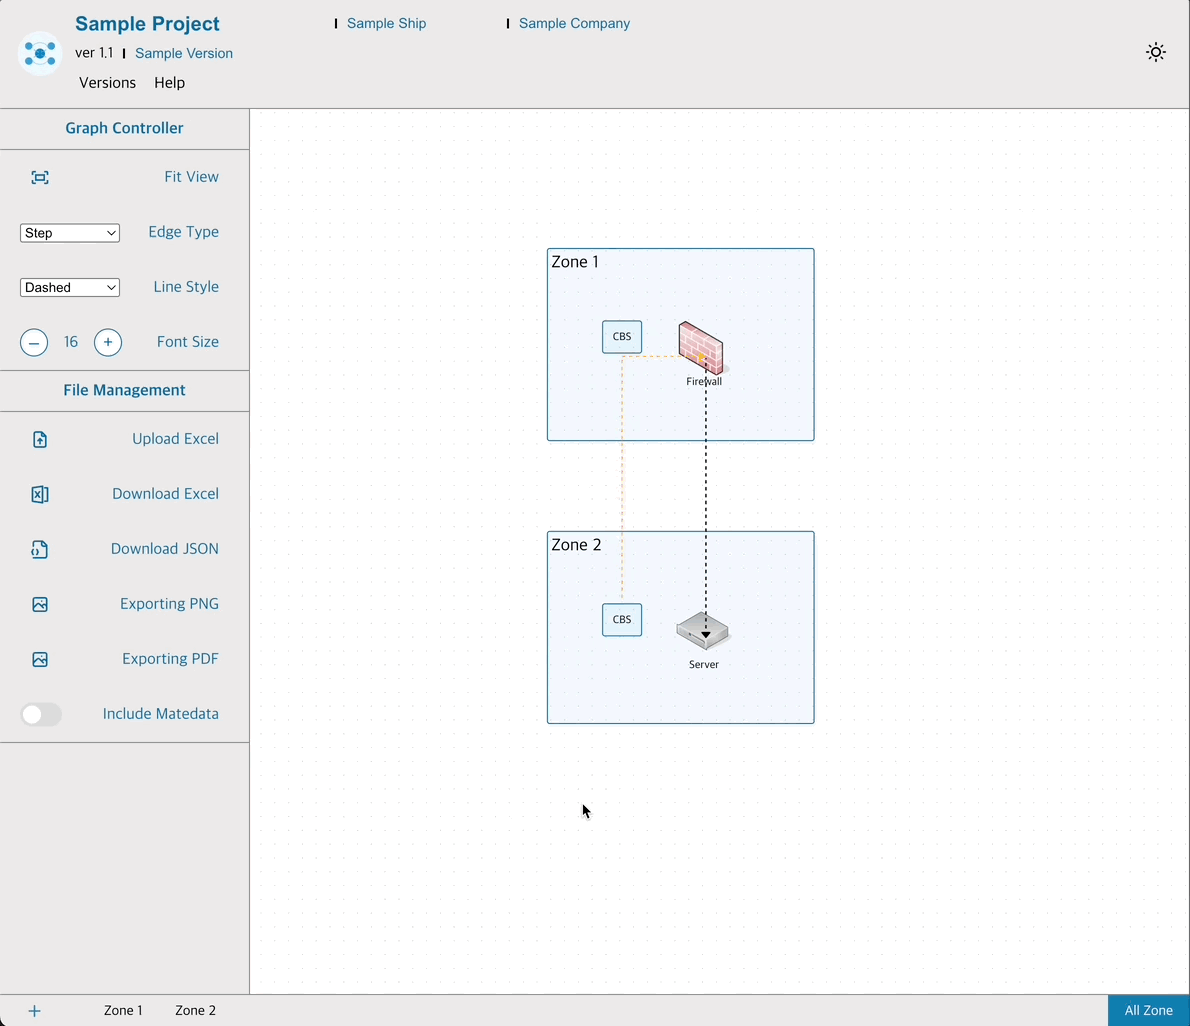
3. Viewing All Zones
Click the All Zone button located at the far right of the Footer to view all Security Zones and their nodes in one screen.
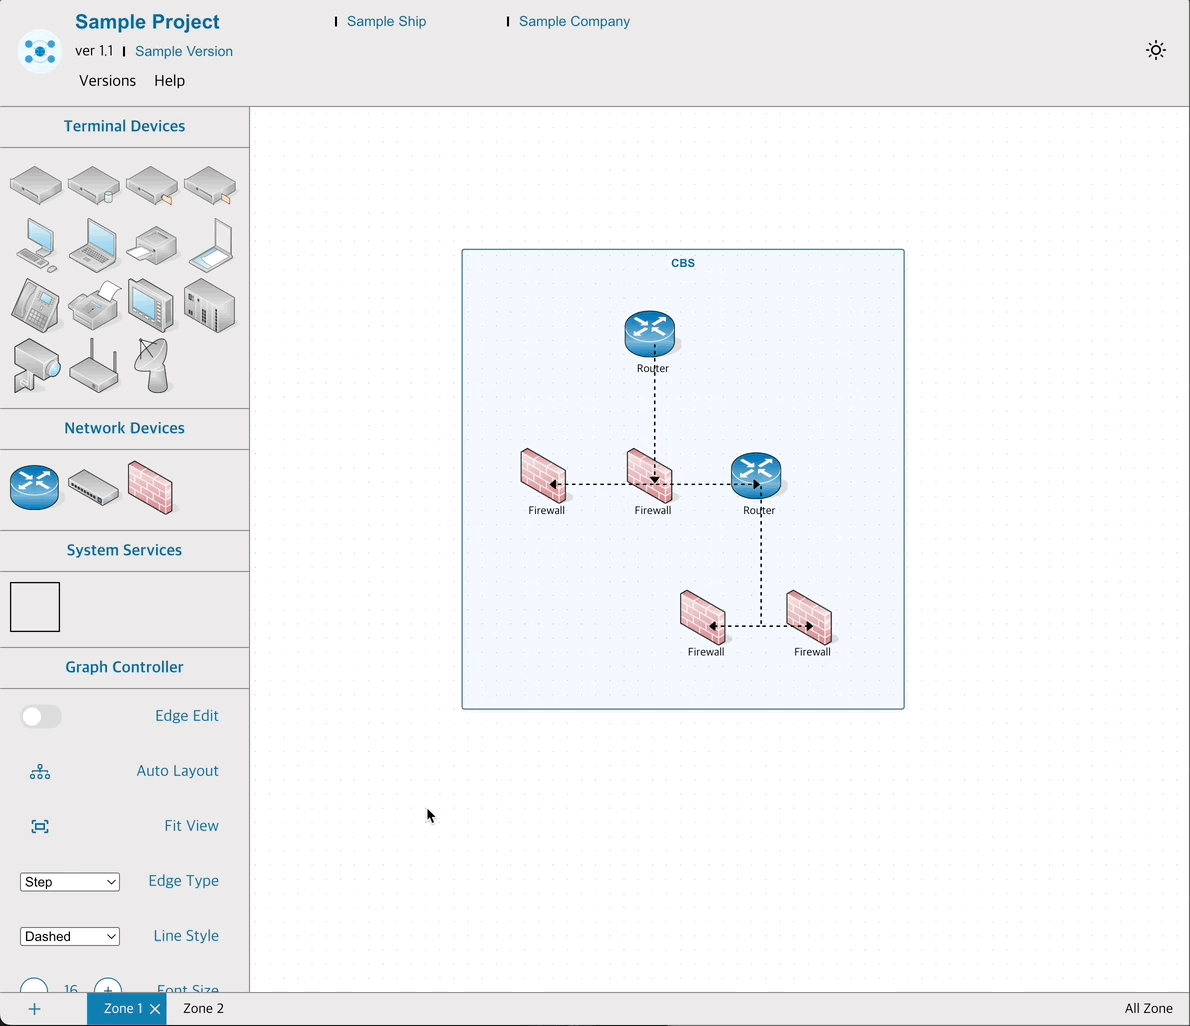
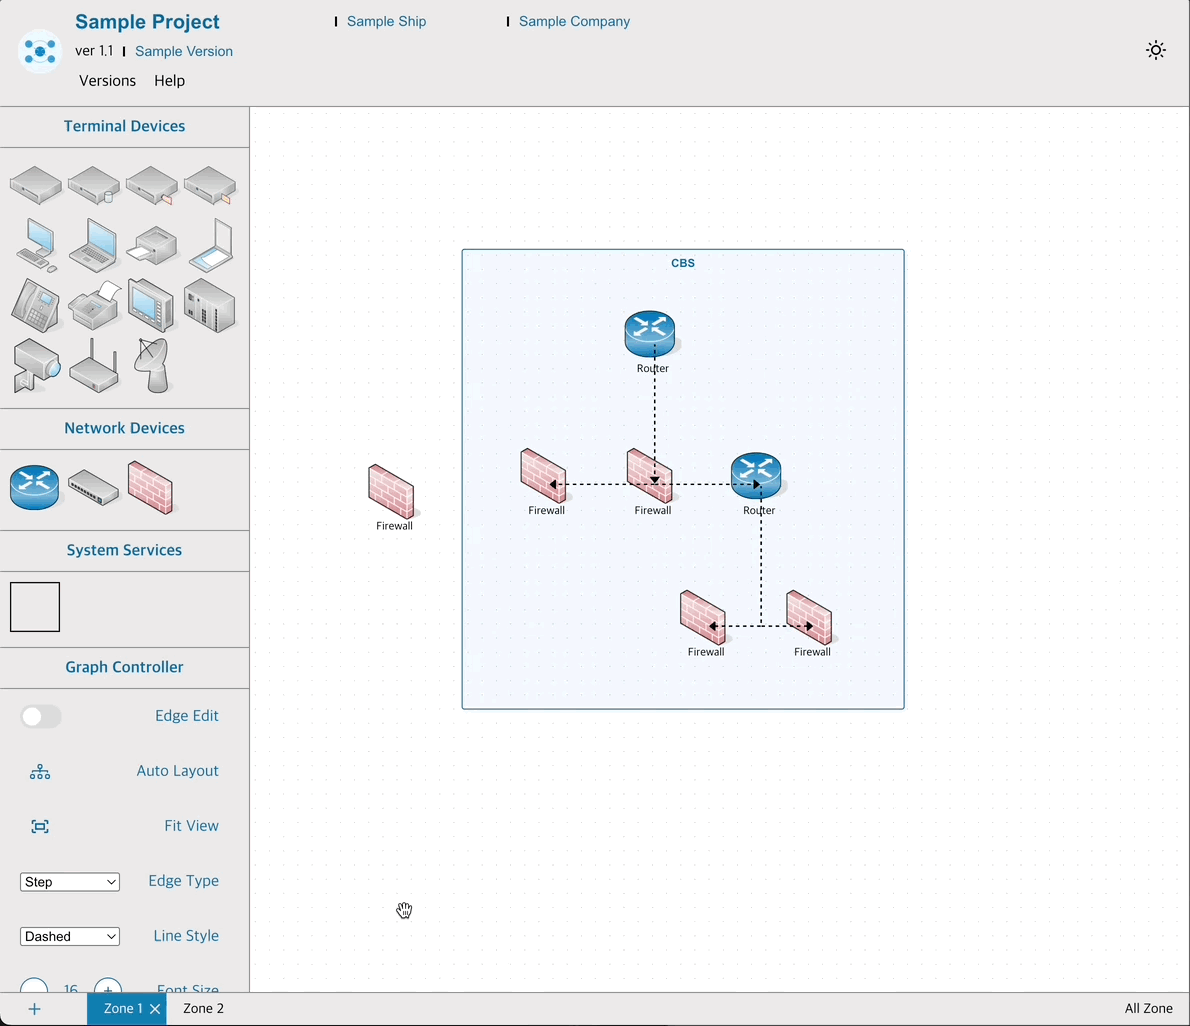
4. Connecting Nodes Across Zones
You can connect nodes that belong to different Zones.
Open the node’s property tab and use the Other System Connection field to select the target node.
The communication protocol can also be modified directly from this interface.
5. Image Capture
You can capture the currently visible Security Zone or the All Zone view as a PNG image.
Click the Export PNG button in the left sidebar to start the download.
Next Guide
In the next guide, Exporting and Saving, you'll learn how to export and import Security Zone data in Excel and JSON formats.