5. Managing Projects and Versions
Palito manages data at the project level, allowing you to organize multiple versions of a network topology within a single project.
In this guide, you will learn how to:
- Edit project metadata
- Create new versions
- Retrieve project data via API
- Preload project data using parameters
- Inject project data dynamically via API
1. Editing Project Metadata
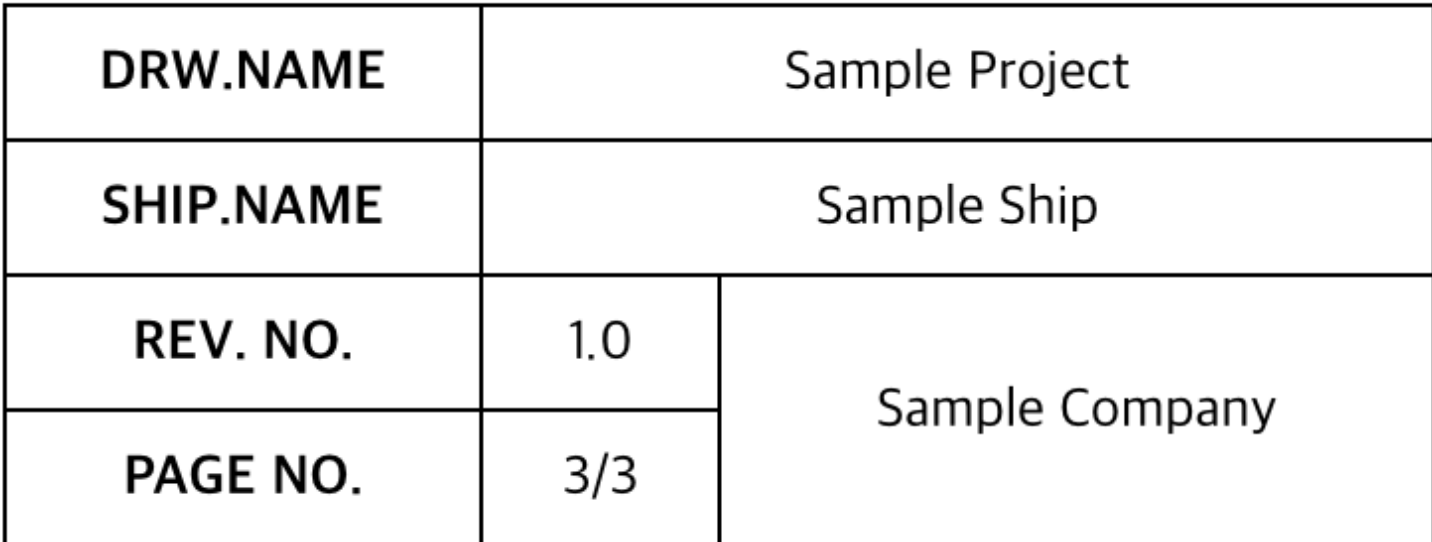
You can edit metadata such as the project name, ship name, and company name using the input fields at the top of the Palito interface.
This metadata is shared across all versions in the project.
This metadata will also appear at the bottom-right corner of exported PNG or PDF files.
2. Creating a New Version
Below the metadata fields at the top of the Palito interface, you'll find fields for version number and version memo.
Click the Versions button to see all existing versions.
To create a new version, click the + Add New Version button — this will duplicate the currently selected version.
3. Deleting a Version
Click the Versions button and then press the “-” button next to each version in the list to delete that specific version. At least one version must remain, so if you try to delete the last remaining version, an error message will appear.
If the version you delete is the currently active version, it will be automatically switched to the highest-numbered remaining version.

4. Retrieving Project Data via API
Palito provides Get APIs to retrieve full project data.
You can retrieve the JSON for the current project using a single line of code:
const project = palitoRef.current.getProjectData();
Here's a full example using a button to trigger retrieval:
const handleGetData = () => {
  if (palitoRef.current) {
    const project = palitoRef.current.getProjectData();
    console.log("Project:", project);
  }
};
5. Preloading Project Data via Parameters
To render a saved project structure immediately, you can pass JSON data to the initialProject prop:
import example from "./example.json";

<Palito ref={palitoRef} licenseKey={LICENSE_KEY} initialProject={example} />;
This loads the project before initial rendering using your own predefined file.
6. Injecting Project Data Dynamically
To set project data dynamically, use the setProject() method. Example:
const handleInjectData = () => {
  if (palitoRef.current) {
    palitoRef.current.setProject(example);
  }
};
7. Project Customization
You can customize the project with custom themes and nodes.
Custom Nodes
const userCustomNodes = [
  {
    label: "Additional Devices",
    nodes: [
      {
        type: "React Nodes",
        icon: MyCustomIcon,
        isReactComponent: false,
      },
      {
        type: "React Nodes2",
        icon: MyCustomIcon,
        isReactComponent: false,
      },
    ],
  },
];
Custom Theme
const themeSample = {
  main: "#3757D2",
  mainSmooth: "#405FD4",
  shadow: "#2C46A9",
  contrast: "#ffffff",
  contrastSmooth: "#ECEBEB",
  point1: "#ffffff",
  point2: "#ffffff",
  point3: "#0f9",
};
Optional Fields in JSON
"optionalFields": [
  { "key": "Sample1", "label": "Sample Property1" },
  { "key": "Sample2", "label": "Sample Property2" },
  { "key": "Sample3", "label": "Sample Property3" },
  { "key": "Sample4", "label": "Sample Property4" }
]
This concludes the guide on managing projects and versions in Palito.
Try experimenting with different features to build your own custom infrastructure visualization tool!